This image may not look impressive, but it represents a fare amount of work in preparing the hull for fiberglassing. Fiberglass doesn't go over sharp bends so transition easing fillets are needed. Fillets have been applied between the keel/lower hull panel, between the upper/lower hull panels and between the hull panels/stem and stern. The deck/shear stringer was rounded over and finished out with filler. Each fillet requires about three passes to complete. Each pass starts will a round of sanding followed by an application of the filleting compound. One full lenght fillet is about all the sanding and filling I want to do in one day so multiple days were consumed in preparing both sides of the starboard hull for fiberglassing. I confess, this was not a job I had great enthusiasm for, but it has to be done. In the end it was gratifying to see the hull surfaces moving closer to the finished state.
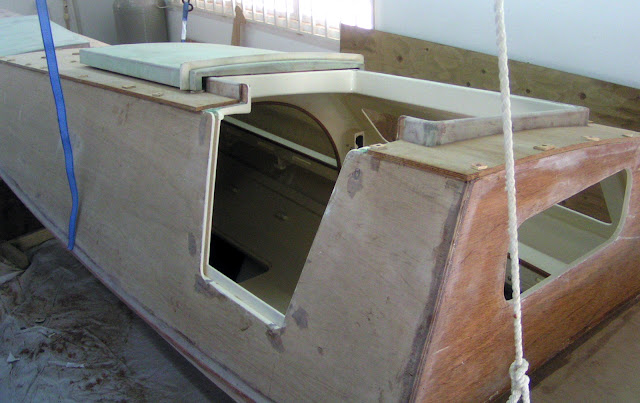
The main hatch coaming and painted arcs are installed.
Above, the cabin top is screwed to the gently curving substructure for the first time. This deviation from the flat top plan looks great to me. In the previous episode I had issues that created a saddle shaped cabin top. The multiple arcs provide the support necessary to create a uniform curve in the 3/8" plywood cabin top.
The cabin hatch is shown in the closed position here.
In some cases it is easier to paint parts before installation than to paint them once installed. When this is the case it is necessary to accurately mark and mask areas not requiring a finish. With the cabin top screwed on it was time to go inside and mark the top underside epoxy joining areas. These areas do not receive a finish to avoid compromising the epoxy bond. My initial idea was to paint the top underside with the same off-white used on the interior. Marking off the underside I noticed how much more visually interesting it is to see the off-white structure contrasted against the unpainted wood. The underside top surface is slated to receive two epoxy coats before any finishing coats. Much work can be saved by varnishing rather than painting the top underside and the end result will be much more visually pleasing!
In the closed position, the hatch drip rail overhangs the inner coaming. The white hatch collar will face against a housing mounted aft of the coaming. These features should help exclude water from the interior.
The beginnings of a washboard prevent interior entry.
Remove the washboard and open the hatch extends a welcome to the interior.


