
Regular readers may be quick to notice something new and different on the forward ends. If it is not obvious I will contain my disappointment, only to point out the newly constructed hatches for the forward lockers. The new additions required more time and effort than I would have anticipated, but fret not for the details are soon revealed. These hatches are larger than normally found on other examples of Tiki 26s. The larger size is to accomodate a composting head in the starboard hull. The hatches feature a gentle curve and form a double coaming. Gentle curve is largely understood, but coaming coupled with double may impose learning on the readers. I have only, just now, learned the correct spelling of coaming.

The hatch frames and tops received two coats of epoxy and a sanding before assembly. The tops are 1/4" plywood bent over the frame's gentle curve. Initially the frames did not have the three stringers extending from one curved end to the other. The hatch tops took on the shape of a saddle without additional features to encourage the shape of a cylindrical section. First, arc segments spanning the hatch width were applied to the top underside, but this arrangement did not change the saddle shape. Next, the plywood was kerfed (parallel saw cuts almost through the material thickness) to encourage a bend following the curve. One top panel shows the kerf cuts filled with green epoxy. The only effective solution was to run the three stringers from one curved end to the other. The stringer ends are reduced in thickness to clear the inner coaming allowing the hatch to seat against the outer coaming (learning: double = inner and outer).
Plywood forming a saddle shape over the curved forms was first observed with the cabin top trial fitting in the last episode. Constructing the locker hatches will served as a pathfinder for applying corrections to the cabin top. Curves applied to the various tops is a deviation from the flat tops detailed in the plans. The flat tops seem crude and aesthetically unpleasing to my eye. The locker hatches will serve as mounting locations for flexible solar panels. The hatch stringers and curved shape will strengthen and stiffen the solar panel mounting substrates.
Double Coaming

Coaming is a surface intended to deflect water. Double coamings are a proven method of producing water tight hatches without relying on a sealing material. The water must take an unlikely tortuous path in order to reach the vessel's insides. Above, the locker hatch is propped open over the head compartment. The compartment opening is surrounded by the taller inner coaming. A 1/4" lip extends outward from the inner coaming top to help deflect water from the inside. The hatch seats against the much lower outer coamings spaced outside the inner coaming's perimeter.
Water attempting to board the vessel must pass through a very small gap between the hatch and outer coaming, squirt across a gap to hit and travel up the inner coaming, then be redirected to the outer coaming by the inner coaming lip. Water will lose energy at each of these encounters and then fall into the trough between the inner and outer coamings. All bets on water tightness are off should the hatches be submerged. A gap at the outer coaming's lowest points (image: lower and upper right) allows water to drain from the space between inner and outer coamings.

The hatch requires a minimal gap when seated against the outer coaming to resist water intrusion. Small holes are drilled through the coaming and hatch to accept green fishing line used to clamp the mating surfaces together as the epoxy sets between the deck and outer coaming. This arrangement assured a minimal gap, flush outer surfaces and permitted thickened epoxy to be worked into the larger gaps between the deck and coaming. The drilled holes are later epoxy filled by syringe injection. Too much time and effort was spent attempting shape the coaming's face contour to match the deck when thickened epoxy is so forgiving with approximate fits.
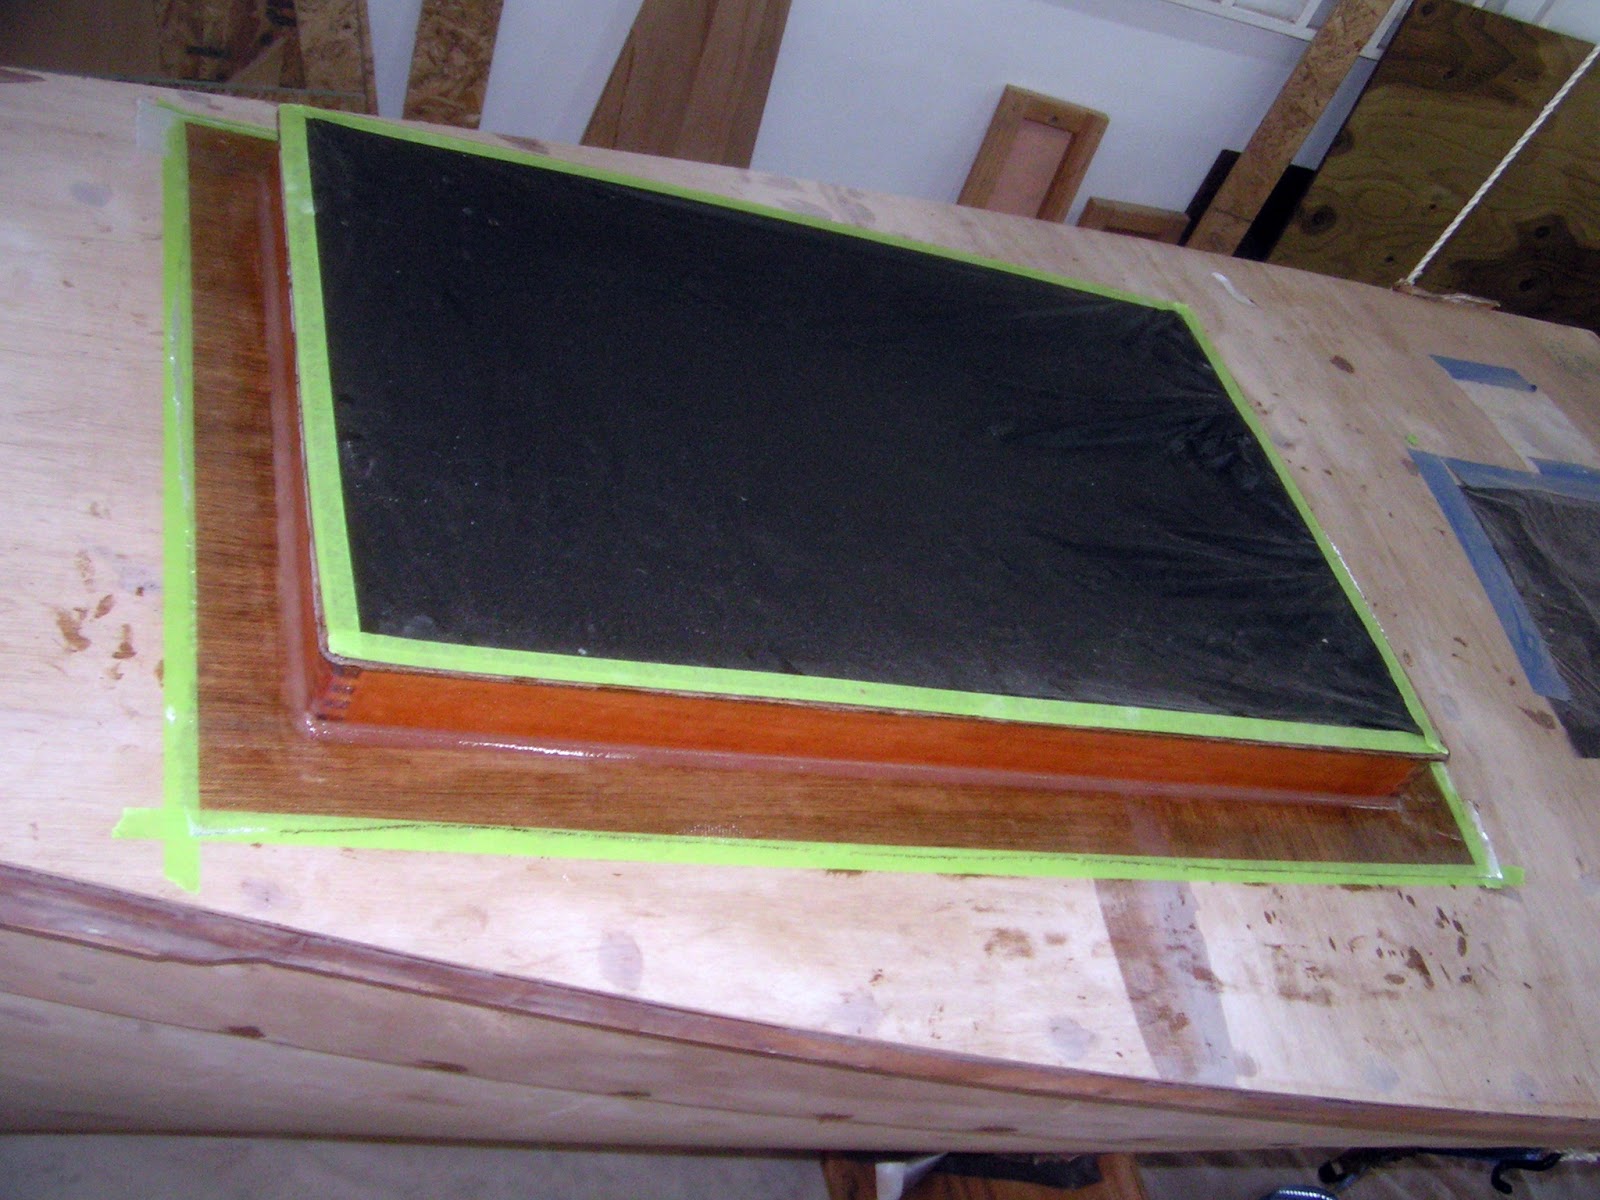
The double coaming system creates narrow spaces that are not easily maintained or refurbished. Care was taken to assure all areas are water proofed with a fiberglass covering. Above the inner coaming side and surrounding trough area are water proofed.

Above edges of the outer coaming are fiberglassed. For these narrow parts I find it easier to set the parts close together and cut a single piece of fiberglass fabric to cover them all in one operation. The coamings received fiberglass on the three sides not in deck contact. Once fiberglass is applied, no additional work can be performed with the part until the epoxy cures and the excess fiberglass is cut away the next day.

I have found that a sharp chisel is about the best way to clean up and flush out fiberglass overhang.
Hinges, latches, prop rods and screws are required to complete the hatches. These items will have to wait until we exit the coronaverse. Until then other things will receive my attentions.