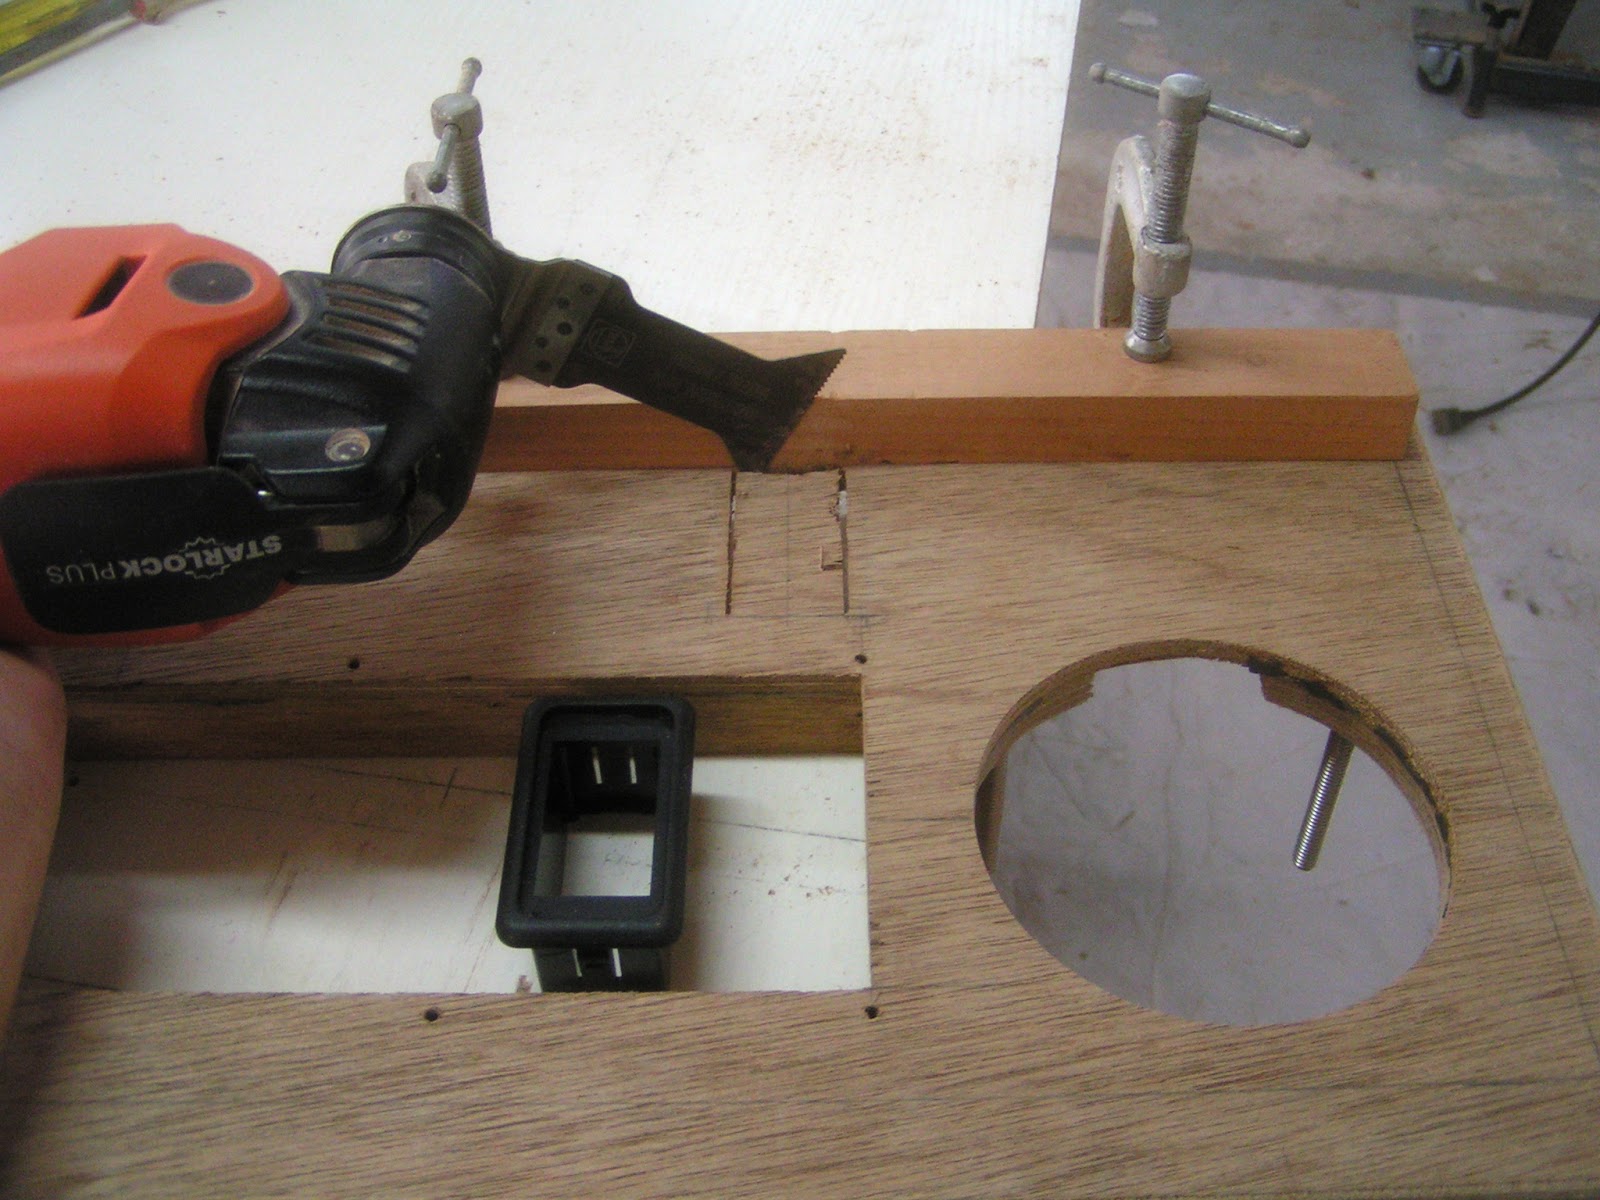
Here a cut out is made to fit the black electrical switch mount resting in the rectangular cut out. The oscillating multi-tool makes quick work of it. It can make plunge cuts and flush cuts against a clamped on wooden straight edge to provide precisely located cuts. You likely need a multi-tool, but may not know it yet.

The last mana shipment provided wiring terminals, shrink tubing, wire markers and other sundries needed to make progress on the wiring system. Above, the three blue solar charge controller positives are wired to the battery via a fuse panel on the right. Above the fuse panel is the negative terminal strip. A heavy black cable connects it to the current measuring shunt before connecting to the battery negative terminal. This arrangement makes it possible to measure and track all current entering or leaving the battery. This measurement coupled with battery voltage enables the battery monitor to report the state of charge.

I'm a fan of the streamlined art deco style, some of that may have brushed off here. Think back to some of the vacuum tube radios if you are old enough.
The charge controllers are enclosed behind the panel above. This panel contains a shelf to support the removable navigation table spanning the hull width. The upwardly angled, circular battery monitor is above the shelf on the right.
The charge controllers will always be energized and producing heat. Slots cut under the shelf and the two horizontal varnished pieces provide cooling ventilation for the energized equipment.

Here the navigation table is installed as far aft as possible. This position permits a second person to sit more comfortably on the table's forward side. Ideally, the second person would be someone you would enjoy tangling legs with beneath the table.
I'm rather pleased with this navigation/engineering station. There is room for a VHF radio installation in the blank space next to the switch panel if anyone is shopping for my next birthday present.

The aft bulkhead has received paint as well as varnished edge moldings. This compartment in both hulls have unpainted inboard hull sides. Companionway stairs provide interior access and will be located on the inboard side along with additional shelving. These items remain to complete the interior fitments.
The companionway's location is dependant on the main hatch location and configuration. There is much to untangle here before a plan takes shape.

The center bulkhead has received paint as well as varnished edge mouldings. As in the port hull, the starboard hull has a goose necked lamp, a 12 volt outlet as well as two USB outlets.
Recent blog episodes have installed components long held side due to precursor operations. Suddenly it seems, many interior areas are at or approaching the finished state. It is gratifying for me to see this project starting to look like something, but still a long way from the completed state. I'm newly encouraged to solder on.