Efforts are underway to close up the hulls so they can be moved outside to mount the crossbeams and other components. Picking up from where the last episode left off .....

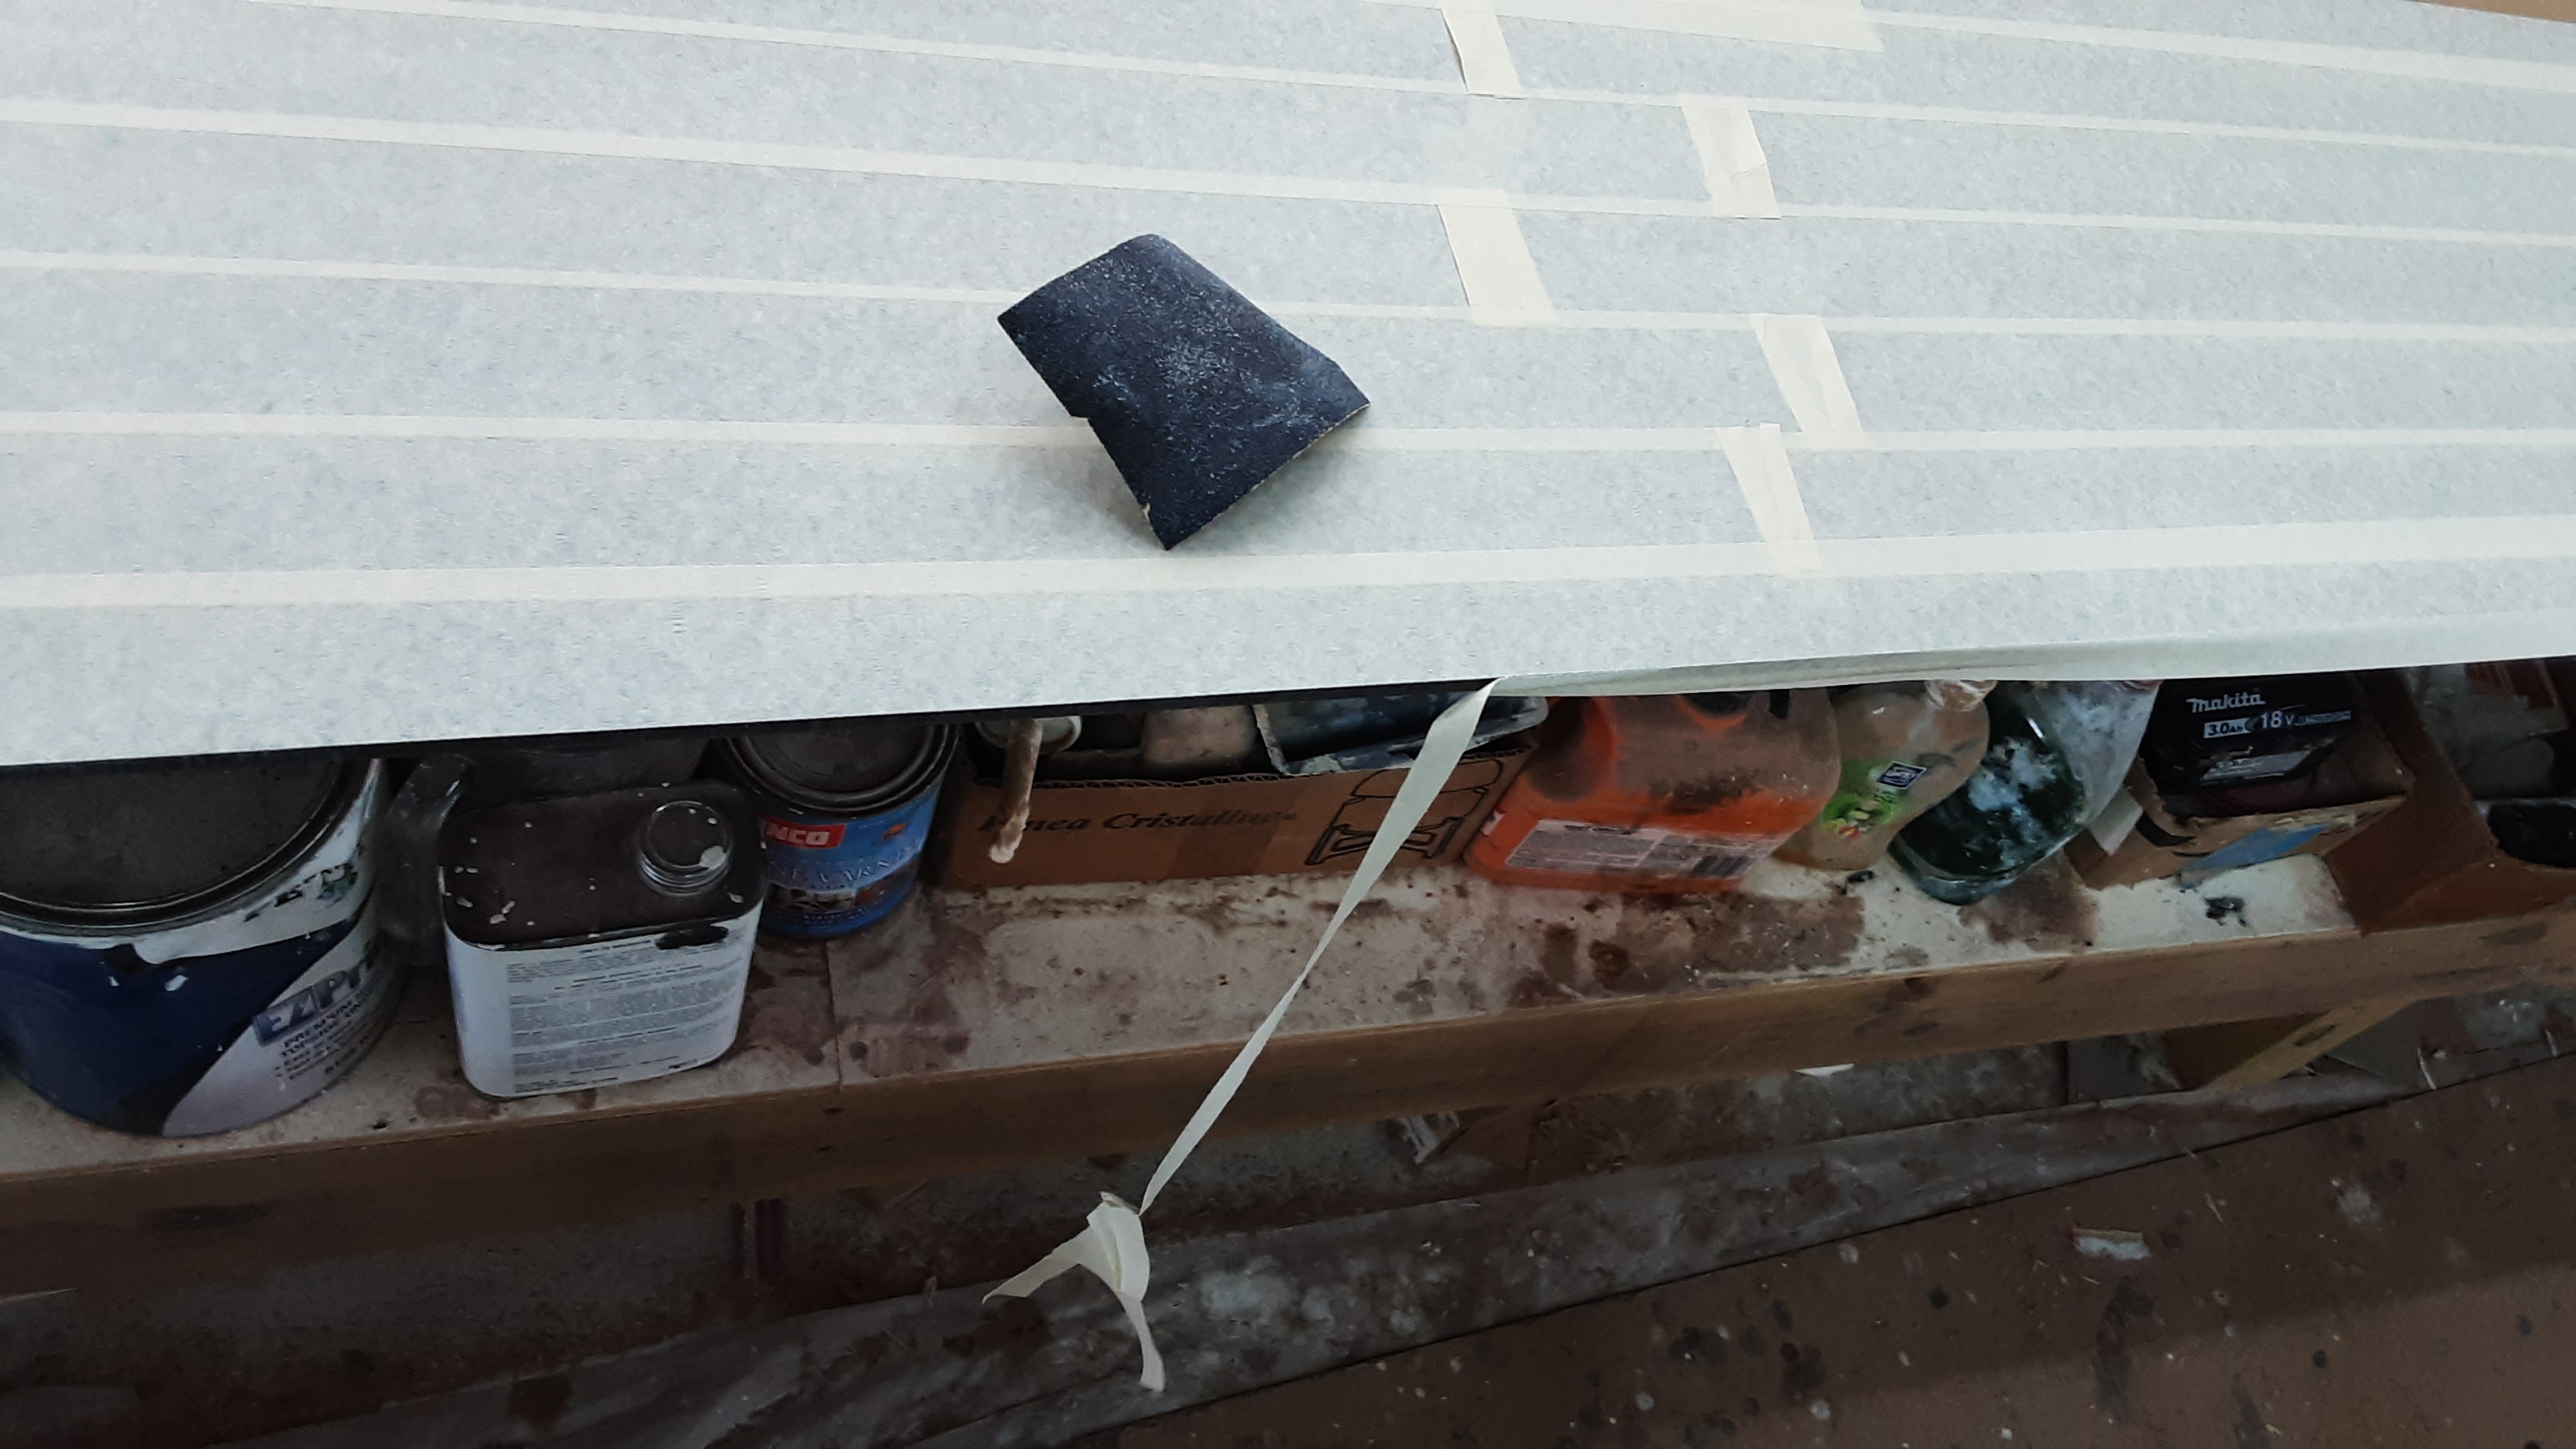
The aft cockpit beam is fiberglass covered and has received the first of many hand sandings. Machine sanding can go wrong quickly and remove the newly applied fiberglass. Part of the post fiberglassing sanding is to taper the overlapping fiberglass edges so that, with additional work, the beam will have a smooth, continuous, paint ready surface.

The beam's back and underside, with holes, has many inside corners. It takes days to hand sand any one of the four beams. The beam's back and underside are not readily visible and may not receive the top shelf paint treatment, but you may surely look forward to future whines about the sanding requirements.


This is an early image of the cap construction. A wooden ring is epoxied to scrap plywood. An off cut from the transducer pipe mount rests inside the ring. The off cut defines where this assembly must be cut to fit over the pipe mount and sit flush against the hull. Two thickness of the off cut were cemented to the transducer pipe mount interior so the cap mounting screws had more material to thread into.

The last shipment included three pairs of over center draw latches. One pair was too large for this application, but may be used elsewhere. Another pair was very attractive, but had a key lock that didn't look very substantial and a lost key could make for a bad few days. The pictured draw latch will secure the house (cabin) sliding hatch with a combination pad lock.
The hatch end slides closed into a housing that could not be installed until the latch was selected and installed. It is a happy day when loose pieces and loose ends are vanquished.
There was nothing to grab onto to open the sliding hatch. Above and to the latch left is a new thumb nob correcting this condition.

I'm excited to share this image of the flush mounted portlights. Unfortunately, this hull is too close to the wall to gain a perspective of how cool this looks.

The portlights rest on a 1/4" thick bed of construction adhesive (Dow 795) applied to a one and one quarter inch wide internal flange. The thick bed allows for the different rates of thermal expansion between the plywood and the plexiglass portlight. Masking is applied around the opening's internal and external edges to keep the adhesive only where it needs to be.

The portlight's internal face is masked, except for the perimeter edges that contact the adhesive. The exposed contact edges are also sanded to improve adhesion, but I'm not sure this is necessary. The adhesive is also used on glass, polished marble and other smooth surfaces that sanding might not affect.
The portlight's exterior face is also masked. If you ever have to mask to a sharp edge, leave the tape hanging over the edge then sand the edge with a fine sand paper to remove the over hanging tape. This is a trick my father taught me in my younger days building model airplanes. Boats and airplanes use identical terms for many components and are structured similarly. Part of my training for this project comes from the many model airplanes I built in younger days.

Short lengths of lumber are super glued to the masked portlight. The lumber extends past the portlight opening to rest on the house side, thereby flushing the portlight to the side. Additional masking is individually applied under each piece of lumber so the lumber can later be removed without disturbing the underlying masking. The white tape has better adhesion than the blue tape and it is used where ever the super glue is needed. Small positioning blocks are glued to white tape below the lumber near each portlight end, The lumber rests against the blocks to locate the portlight fore and aft as well as vertically.
The house side is not flat and the portlight must twist and bend to sit flushly. The blue ratchet straps apply force to the lumber and conform the portlight to the flush condition while the adhesive cures.
The construction adhesive has a 15 minute working time at 50% relative humidity. The Belize humidity relative usually runs in the high 70% range or more. I wait for a day when the humidity is near 60% to apply the adhesive. Once the adhesive is applied and the portlight is held in positioned as shown, it is time (no time for dallying) to tool the interior adhesive squeeze out and remove the interior masking.
The ratchet straps are removed when the adhesive is judged cured. The exterior lumber masking and lumber is carefully removed without disturbing the underlying masking. A 1/8" gap will be present between the opening and the portlight. This gap is filled with an application of the construction adhesive then tooled before the masking is removed from the portlight and around the opening.
A gap greater than 1/8" might be wise for climates with a temperature range greater than experienced here in Belize. I calculated and expansion of 1/16" on the longest dimension over a temperature range of 40° F. This means the gap at each end must accommodate a 1/32" change in dimension over the expected temperature range. The cured adhesive (RTV) is a soft rubber like material able to change it's dimension +/- 50%. I could not account for a temperature range/difference the smoked portlights might impose by insolation. At worst, the gap adhesive may suffer, but the large flange surface area and thick bed should keep the portlights attached. This will be put to the test when moved outdoors.

Portlight installation is a one shot deal and it has gone well with good results. I under estimated the adhesive needed and await the next adhesive shipment to install the remaining portlight.
The hulls now sport the rectangular lashing pads that secure the crossbeams to the hulls and serve as anchor points for mast supporting stays.

The twenty lashing pads require ...... sanding. The lashing pads are through bolted to the shear stringer. The bolt holes were drilled before the hulls were fiberglassed, so more than 60 holes had to be located again to penetrate the fiberglass covering.


This boat porn image shows the port bow with some of the new hardware. Are you excited now? I am.